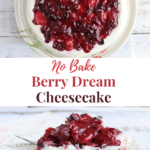
This no bake cheesecake with dream whip is a true winner when it comes to quick and easy desserts. It’s much lighter and airier than traditional baked cheesecakes and delivers a real sweet/tart punch of flavour. It’s also a great recipe for the summer months as you don’t have to heat up your kitchen at all by turning the oven on!
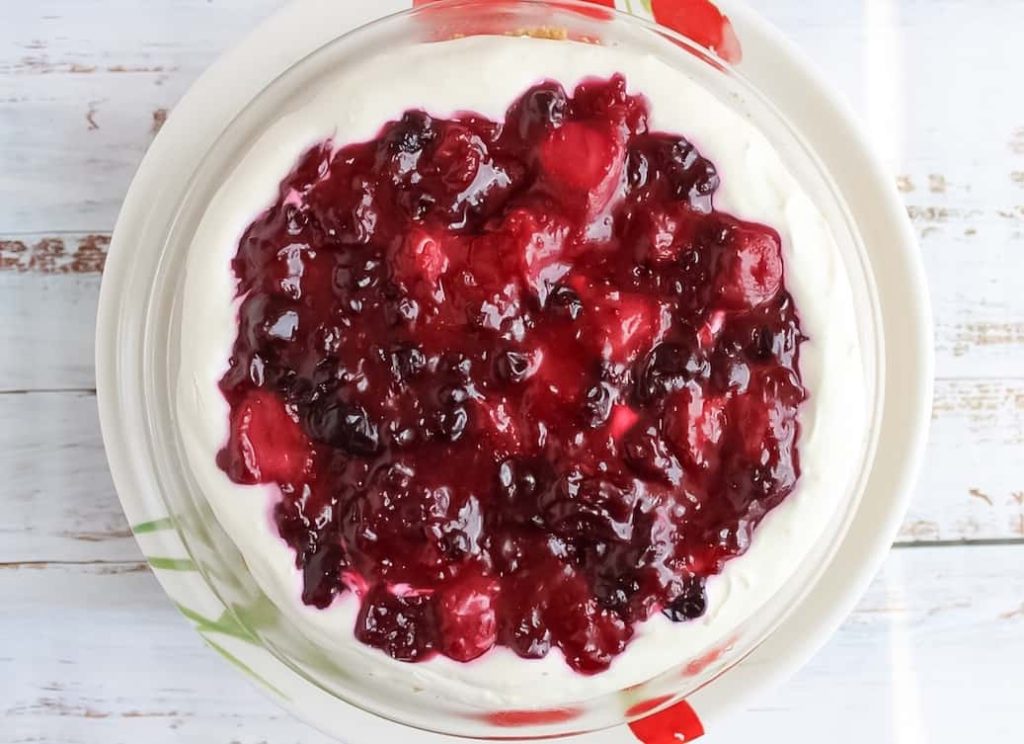
The original recipe for this cheesecake was given to my mom back when I was kid. You may know it as ‘cherry cheesecake delight’ or a similar name. It had a graham cracker crust with a creamy cheesecake filling and was topped with canned cherry pie filling. My mom always made it in a glass rectangular baking dish and cut the pieces into squares. True to its name, it truly was a delight. I loved when we would have this cheesecake for dessert.
I wanted to recreate this throwback to my childhood in my own kitchen, but also wanted to give the recipe a bit of a refresh. I think you’ll like this version of no-bake berry cheesecake just as much as Sam and I do!
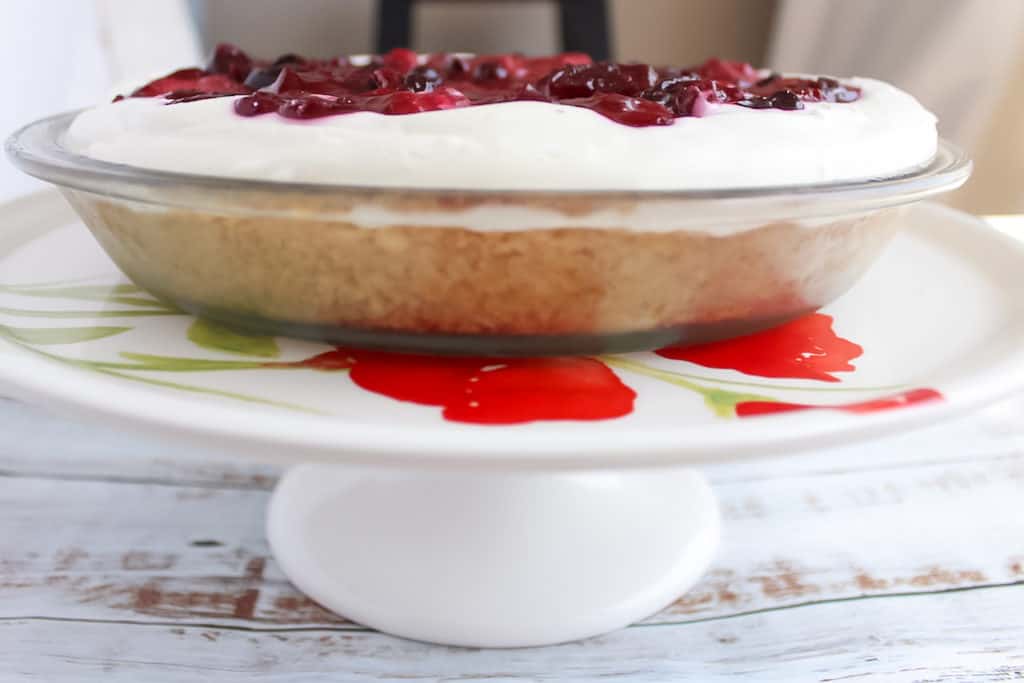
For the base, I swapped out the graham cracker crumbs for crushed Golden Oreos. I love how the Oreos give a vanilla crunch texture to the cheesecake. The crust also couldn’t be any easier to make. Just whiz up a packet of the cookies (cream and all!) in a food processor and combine with a bit of unsalted butter. You could also bash them about by hand if you prefer. It’s a great way to work out some of your stress!

The filling stays tried and true to the original. You’ll combine one packet of plain cream cheese and the secret/not so secret ingredient…DREAM WHIP. I hear you, you may have an aversion to using processed powders in place of real whipping cream, but I’m telling you, in this recipe, it really works. The texture of the dream whip is so light and airy that it really lifts the texture of the cream cheese as well. The dream whip also has a slight tang to it that I find you just don’t get with whipped cream.
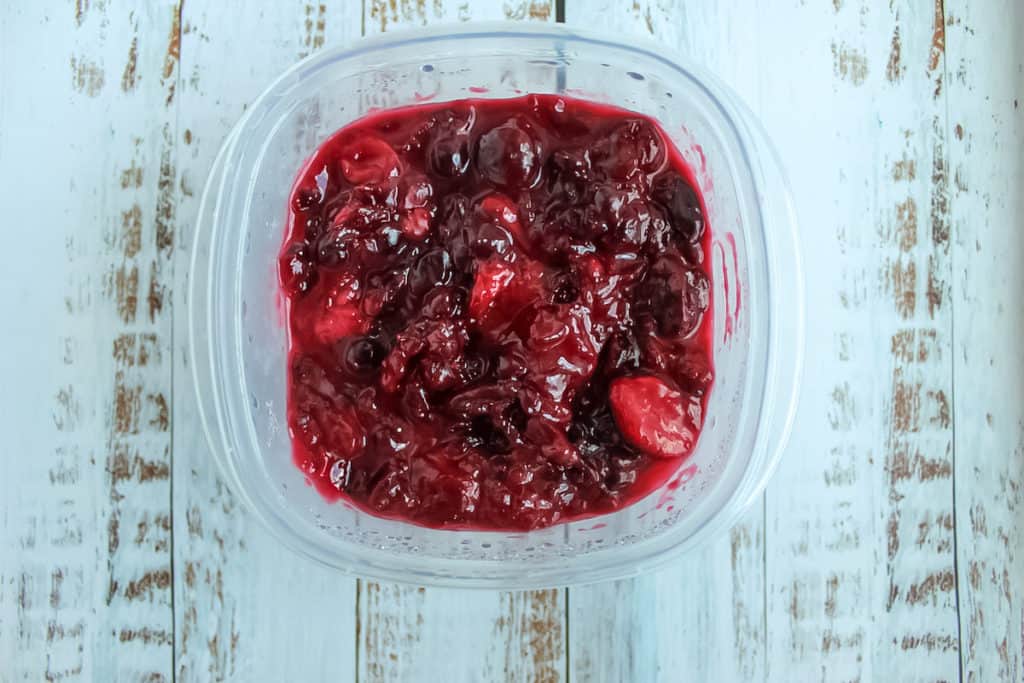
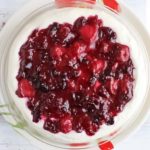
Lastly, the entire cheesecake is topped off with a mixed berry topping. Instead of using a tinned pie filling, (which is still always delicious!), I opted to make my own from a packet of frozen mixed berries, some sugar and cornstarch. I used a mixed berry bag because it included ALL of the berries: strawberries, blueberries, blackberries, and cherries.
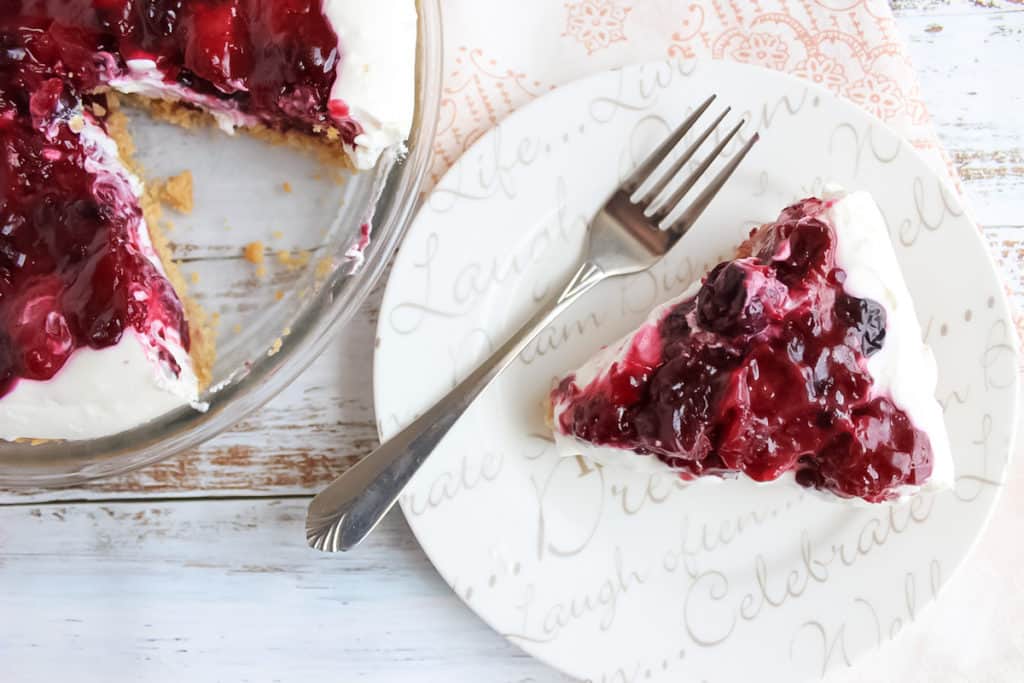
I chose to make this cheesecake in a round pie plate, because I was looking for wedges of cheesecake instead of squares, but that’s just a personal preference. You can easily adapt this recipe to any baking pan that suits you.
Honestly, the most difficult part of this recipe is waiting the 2 hours for it to firm up. Otherwise, I think you’ll find that it comes together very easily and is a breeze to make!
If you’re looking for a mini cheesecake, then you might like this recipe for individual white chocolate cheesecakes, or these no-bake yogurt cheesecake bars. If cookies are more your thing, check out this amazing recipe for strawberry cheesecake cookies from our friends over at Truffle Nation. These cookies combine the flavours of fresh strawberries, creamy cheesecake, and sweet cookie dough and they are simply divine!
Julianne’s Notes
Do I have to use Dream Whip?
I do encourage you to give the Dream Whip a try, but if you would like to use an alternative then you certainly can. You could try Cool Whip instead. Real whipping cream would also make a good substitute. If you are going to use real whipping cream, I would add a bit of sweetener to the cream cheese first. Maybe a couple of tablespoons of sugar or to your tastes.

I can’t find Golden Oreos, can I use another cookie?
Yes! When it comes to a cookie base, you have as many options as your imagination allows. Some that come to mind are: regular Oreos, gingersnaps, oatmeal cookies, or digestive cookies. You could also try Ritz crackers or pretzels for a saltier vibe.
I want my crust to be crunchier. Can I bake it?
Yes. If you like your crust to be crunchier and hold together better, you can bake your crust. Pop it into an oven preheated to 350F (180C) and bake for 9 – 10 minutes. Let the crust cool completely before adding the cream cheese filling.
How long do I have to chill this berry cheesecake before I can serve it?
Ideally, you’ll want to chill the cheesecake for at least 2 hours before serving. This time allows for the cake to firm up before cutting it into slices. You can certainly eat it before the 2 hours are up, but just know that the filling will be softer and may ‘melt’ a bit.
Frequently Asked Questions
Ideally, you’ll want to chill the cheesecake for at least 2 hours before serving. This time allows for the cake to firm up before cutting it into slices. You can certainly eat it before the 2 hours are up, but just know that the filling will be softer and may ‘melt’ a bit.
It takes a lot of my willpower not to polish off the entire cheesecake in one go! When storing this cheesecake, you’ll want to cover it with plastic wrap. It will keep well in the fridge for 3 – 4 days. I actually prefer it after a day or two once the flavours have had a chance to mingle.
Yes it is! The crust, however, in this no bake cheesecake with dream whip is not gluten free.
No it’s not. It is vegetarian, but it does contain whey and sodium caseinate which are both dairy products obtained from animals, therefore it is non-vegan.
I hope you enjoy this recipe. I’d be interested to hear what were some of your favourite desserts from your childhood? Please feel free to share in the comments!
Also, if you make this no bake cheesecake with Dream Whip, I’d love to see it! Please share a pic on Instagram at #bakersbookshelf
No Bake Cheesecake with Dream Whip
Ingredients
- 1 package Golden Oreo Cookies (about 25)
- 5 tablespoon unsalted butter, melted
- 250 g plain cream cheese
- 2 envelopes Dream Whip
- 1 cup cold milk
- 1 teaspoon vanilla
- 600 g frozen berries of your choice
- ½ cup sugar
- ⅓ cup cornstarch
- 2 tablespoon lemon juice
Instructions
- Lightly spray your pie plate with cooking spray (or rub with a bit of butter).
Make the Berry Topping
- Pour the berries, sugar, cornstarch and lemon into a medium sized saucepan and cook over medium low until it reaches your desired consistency. I like my topping to be quite thick. Usually this takes 10 – 15 minutes. Give it a stir quite frequently once the mixture starts to blip and boil to ensure that there aren’t clumps of cornstarch forming. Remove from the heat source and leave to cool completely.
Make the Crust
- Crush the cookies in a food processor, (or by hand), until they resemble fine crumbs. No need to remove the creamy filling first, just tip the whole lot in to be crushed together. Pour the crumbs into your pie plate.
- Melt the butter and pour it over the crumbs and combine with a fork. Once the butter is combined with the crumbs, press the mixture into your pie plate. Make sure to come up the sides of the plate as well. Put the crust in the fridge to chill while you get on with the filling.
Make the Filling
- In a medium sized bowl, pour in the contents of the Dream Whip and the milk and vanilla. Whip everything with an electric mixer on medium-high for roughly 4 minutes. You can also whip by hand. It will just take you longer. The whip will be light, voluminous, and holding peaks.
- In a separate bowl, whip the cream cheese until smooth. Adding a spoonful at a time of the Dream Whip, continue whipping until everything is incorporated.
- Now it’s just a layering job. Pile in the cream cheese filling and top with the berry topping. Chill the cheesecake, uncovered, in the fridge for at least 2 hours before serving.



Sandra Ans says
Omg, this no-bake berry cheesecake looks and sounds mega tasty! As I am not having an oven in my flat, I am always in a search for no-bake recipes! So actually this recipe, may save a life, when I want to make a cake without oven! 😀
Julianne Simpson says
Haha I hope you don’t run into any cake emergencies, but if you do, we’ve got you! Thanks, Sandra!
Wendy B. says
Good recipe. I used Cool Whip instead and made a graham cracker crust and it tasted delicious!
Julianne says
Thanks for sharing your substitutions, Wendy. I’m happy that it turned out!
Julianne
Debbie says
I have made this recipe a couple of times. My aunt gave it to me before she passed away.
The last time I made it I used Cool Whip. It does change the consistency of the filling but it was still good.
Julianne says
Hi Debbie,
Cool Whip is a great substitution! I’m sorry to hear about your aunt. I’m sure she’d be happy to know that you’re still making her recipes 🙂
Shannon says
Can you freeze this? TIA 😃
Julianne says
Hiya! I haven’t tried freezing it, but I imagine you could do it, although the texture might change a bit because there’s milk in the Dream Whip. You could substitute Cool Whip for the Dream Whip and then it would freeze well for sure. Hope this helps!