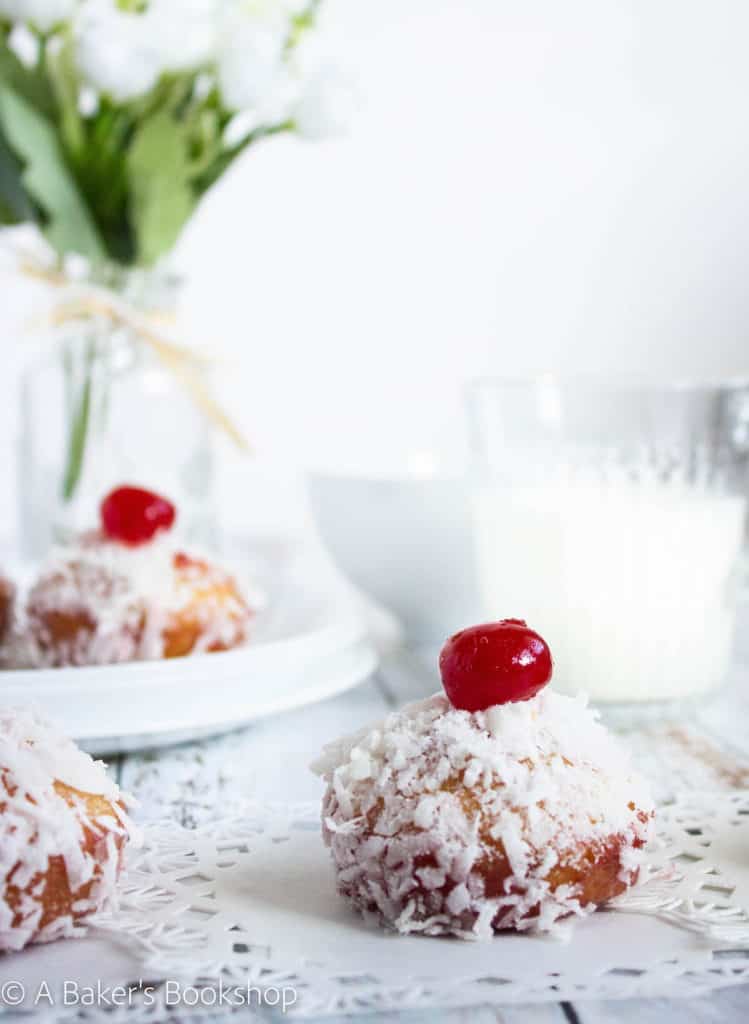
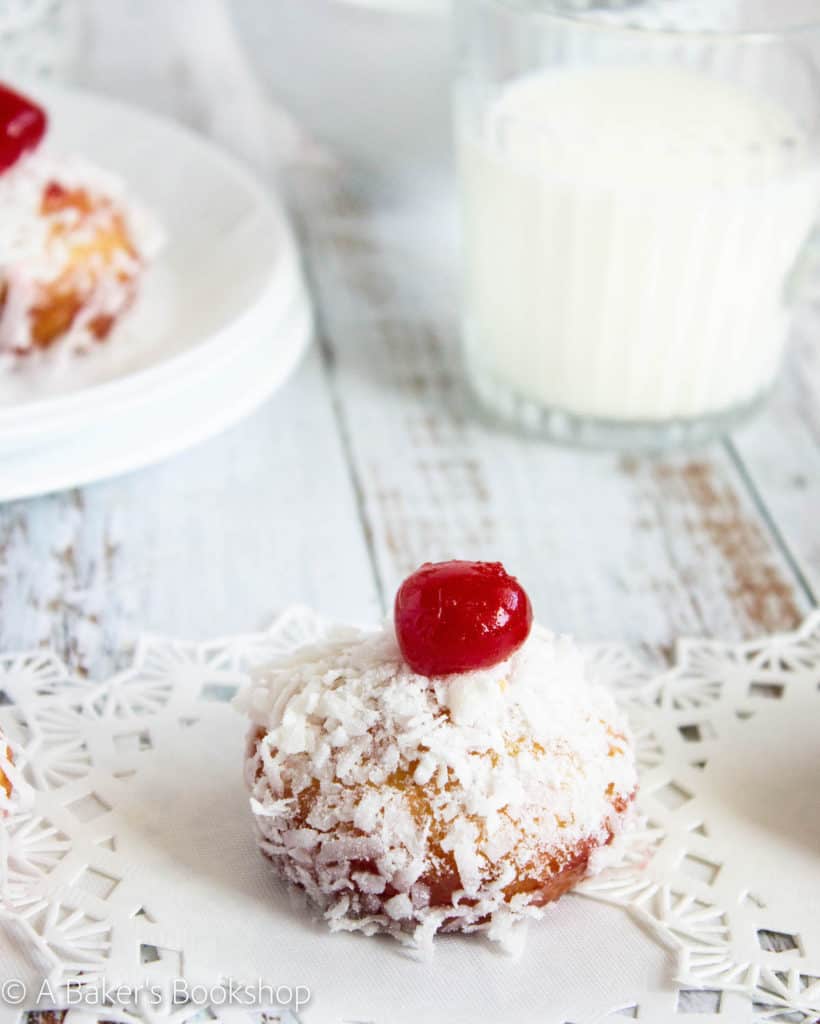
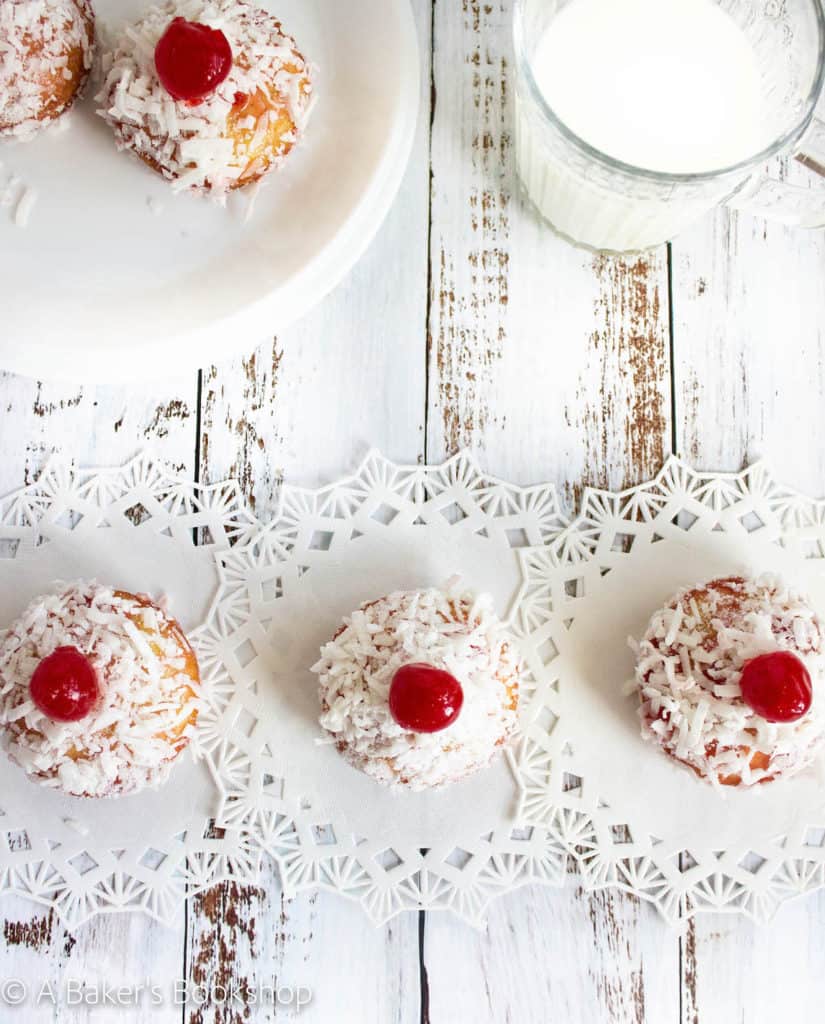
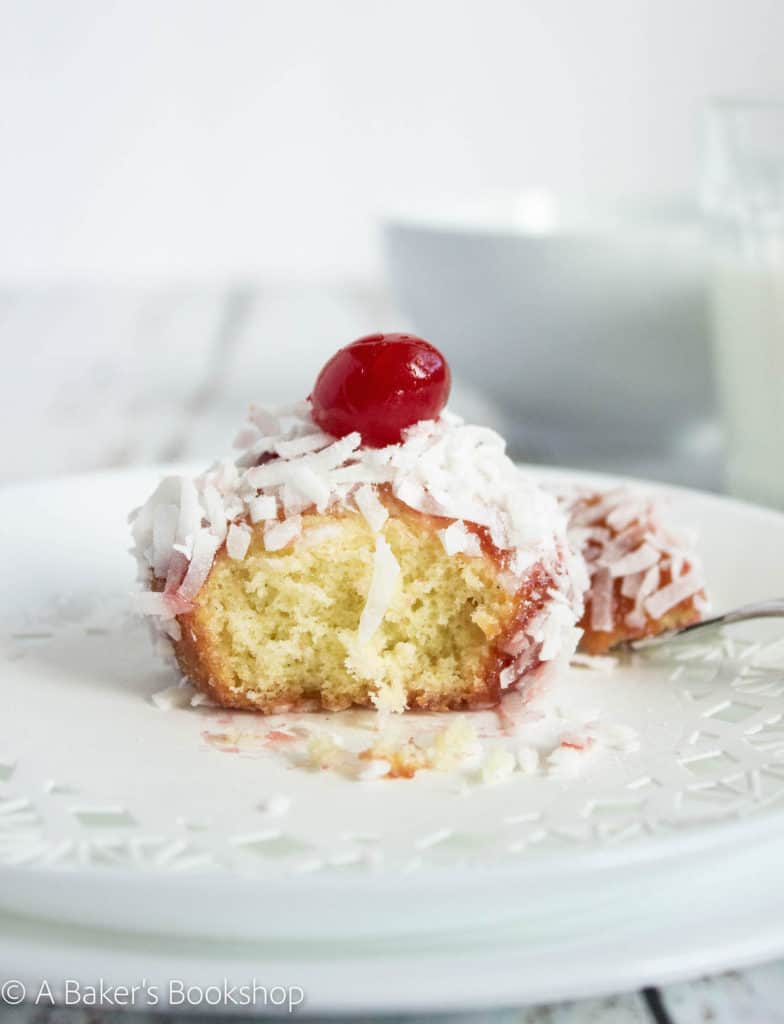
For a simple teatime cake, look no further than these coconut and jam cakes. These cakes start with an easy vanilla sponge that is brushed with melted jam and dredged in coconut. Finally, everything is topped off with a ruby red maraschino cherry. Pretty to look at and delicious in flavour, these little beauties will make any occasion a special one.
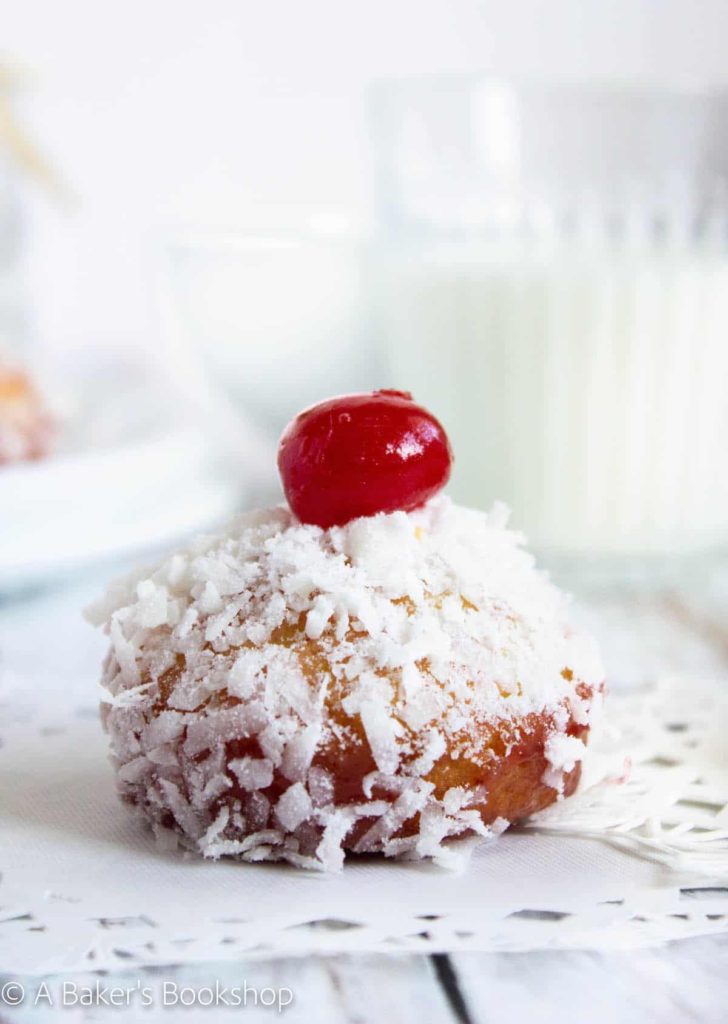
I adapted this particular recipe from a version of an English madeleine as shared by Jane Brocket in Vintage Cakes (Jacqui Small, 2013). English madeleines are a coconut and jam sponge cake traditionally made in dariole moulds, which are similar to the shape of thimble, although much larger in size. Now, some of you may have dariole molds at home, but I suspect they aren’t common in many home kitchens. I improvised with a regular sized muffin tin and I’m really pleased with the results!
What to Expect from this Recipe
- You can mix everything by hand, so no special equipment is required.
- A simple and smooth vanilla sponge recipe. The batter may appear lumpy when you first add the flour, but continue to gently fold, and you will see that it comes smoothly together.
- A thin coating of melted jam brings a sweet tartness to the cakes and gives the coconut something to cling to.
- Ready from start to finish in 40 minutes.
What You’ll Need to Make this Recipe
- All-purpose flour
- Granulated sugar
- Baking powder
- Salt
- Unsalted butter (take it out of the fridge a couple of hours in advance to bring it to room temperature)
- Egg
- Vanilla (I like to use vanilla bean paste. You can use any type of vanilla here, as long as it tastes good to you!)
- Jam (I used cherry jam for this recipe, but you can use your flavour of choice)
- Flaked sweetened coconut (I like the sweetness that the coconut brings to the cakes, but if you prefer to use unsweetened coconut, that’s ok too!)
How to Make Jam and Coconut Sponge Cakes
You’ll start by heating the oven to 350 F/180 C and preparing the muffin tin. This recipe will give you 12 smaller coconut and jam cupcakes or 9 larger ones. I made smaller ones and you’ll see from the photos that they are the perfect 2 – 3 bite cake.
To prepare the muffin tin, liberally butter each hole. You could line the holes with muffin papers/wraps instead. I chose to bake cakes right in the tin to get a smoother surface on the sides. I also find that, so often with cupcakes baked in papers, half of the cake remains in the paper when you try to peel it off. Because these little cakes are meant to be decorated on all sides, it’s important for the whole cake to be intact!
In a large bowl, use a wooden spoon to cream together the butter and sugar until it is pale and fluffy. This will take about 5 minutes by hand. If you prefer to use a handheld or stand mixer, it will only take a couple of minutes.
Add the eggs in one at a time and using a whisk, continue mixing after each addition. Then add the vanilla to the batter. At this point, you should have a very light and airy mix.
Now you want to fold in half of the flour, using a wooden spoon, or rubber spatula. Try to use a gentle motion here, as you trying to incorporate the flour without knocking out all of the air you’ve whisked into the batter. Finally, you’ll add the remain flour and continue to fold until you have a smooth batter. It might seem a bit lumpy as you start to fold in the flour, but continue to fold and I promise you that it will come together nicely!
If you’re planning on baking 12 cakes, fill the muffin tin holes with the batter, half way up the sides and bake for 15 – 20 minutes. For 9 cakes, you can fill the holes three-quarters of the way up and bake for 10 – 15 minutes.
You’ll know the cakes are done when the tops are golden and an inserted toothpick into the centre of the cake comes out clean.
Let the cakes cool for 10 minutes in the tin and then remove to continue cooling on a wire rack. Because of their size, they will cool fairly quickly, maybe another 15 – 20 minutes.
Once you’re ready to decorate your cakes, spoon the jam into a microwavable bowl and heat at 50% power for bursts of 15 seconds. You’ll want to check it after every burst to see if the jam is melted. You’re looking for a consistency that will be able to brush on to your cakes. If the jam needs a little help to thin out, try adding a teaspoon or two of water, being careful not to dilute it too much.
*Note: if your jam has seeds or pieces of fruit in it, you can push the melted jam through a fine meshed sieve to catch the seeds and fruit pieces.
Pour the coconut onto a plate to make it easy to coat the cakes once you’re ready.
Using a silicone brush, paint on a thin layer of jam and then immediately roll the cake in the coconut, making sure to cover all sides. If you don’t have a silicone brush, you can use a butter knife to spread the jam over each cake.
Finally top each cake with a halved maraschino cherry and serve!
Julianne’s Notes
The main difference between and English and a French madeleine is the shape. Traditional English madeleines are baked in dariole molds, similar to a giant thimble shape, while a French madeleine is baked in a special madeleine pan, which produces shell shapes. The English version is also coated in jam and coconut whereas the French style is to eat them plain.
These little cakes are best eaten on the day they are prepared. I would suggest eating them at their freshest, which means storing in an airtight container for 1 or 2 days at the most.
You can view the steps to make these cakes by watching the How to Make Jam and Coconut Cake web story.
If you like this coconut jam cake recipe, you might enjoy these other little cakes:
Oatmeal Muffins with Chocolate Chips
Share your baking!
If you make this cake recipe, be sure to leave a comment. I love hearing from you! Also, if you make this recipe, I’d love for you to share your photos on Instagram! Remember to use the hashtag #bakersbookshelf.
These jam and coconut cakes would be a welcome addition to any tea party or picnic lunch. Simple to make yet sophisticated enough to serve to guests after a dinner party, this recipe is one you’ll want to keep in your back pocket!
Coconut and Jam Cakes
Equipment
- 12 hole regular-sized muffin tin
Ingredients
- ½ cup unsalted butter, very soft
- ½ cup granulated sugar
- 2 large eggs, beaten
- 1 teaspoon vanilla, (paste or extract)
- 1 cup all-purpose flour
- 1 ½ teaspoon baking powder
- ¼ teaspoon salt
- 4 tablespoon jam (cherry or raspberry)
- ½ cup flaked coconut, sweetened
Instructions
- Heat the oven to 350 F/180 C and preparing the muffin tin. This recipe will give you 12 smaller coconut and jam cupcakes or 9 larger ones. I made smaller ones and you’ll see from the photos that they are the perfect 2 –3 bite cake.
- To prepare the muffin tin, liberally butter each hole. You could line the holes with muffin papers/wraps instead. I chose to bake cakes right in the tin to get a smoother surface on the sides. I also find that, so often with cupcakes baked in papers, half of the cake remains in the paper when you try to peel it off. Because these little cakes are meant to be decorated on all sides, it’s important for the whole cake to be intact!
- In a large bowl, use a wooden spoon to cream together the butter and sugar until it is pale and fluffy. This will take about 5 minutes by hand. If you prefer to use a handheld or stand mixer, it will only take a couple of minutes.
- Add the eggs in one at a time and using a whisk, continue mixing after each addition. Then add the vanilla to the batter. At this point, you should have a very light and airy mix.
- Add the baking powder and salt to the flour and mix together with a fork.
- Fold in half of the flour, using a wooden spoon, or rubber spatula. Try to use a gentle motion here, as you trying to incorporate the flour without knocking out all of the air you’ve whisked into the batter. Finally, you’ll add the remain flour and continue to fold until you have a smooth batter. It might seem a bit lumpy as you start to fold in the flour, but continue to fold and I promise you that it will come together nicely!
- If you’re planning on baking 12 cakes, fill the muffin tin holes with the batter, halfway up the sides and bake for 15 – 20 minutes. For 9 cakes, you can fill the holes three-quarters of the way up and bake for 10 – 15 minutes.
- You’ll know the cakes are done when the tops are golden and an inserted toothpick into the centre of the cake comes out clean.
- Once you’re ready to decorate your cakes, spoon the jam into a microwavable bowl and heat at 50% power for bursts of 15 seconds. You’ll want to check it after every burst to see if the jam is melted. You’re looking for a consistency that will be able to brush on to your cakes. If the jam needs a little help to thin out, try adding a teaspoon or two of water, being careful not to dilute it too much. *Note: if your jam has seeds or pieces of fruit in it, you can push the melted jam through a fine meshed sieve to catch the seeds and fruit pieces.
- Pour the coconut onto a plate to make it easy to coat the cakes once you’re ready.
- Using a silicone brush, paint on a thin layer of jam and then immediately roll the cake in the coconut, making sure to cover all sides. If you don’t have a silicone brush, you can use a butter knife to spread the jam over each cake.
- Finally top each cake with a halved maraschino cherry and serve! These cakes are best eaten on the day they are made.
Notes
- If your jam has seeds or pieces of fruit in it, pass it through a fine meshed sieve once melted to catch the pieces before brushing the jam on your cakes.
- You can use any flavour of jam for these cakes. Cherry or raspberry are good options.
- These cakes are best eaten on the day they are made. If you wish to store them for a day or two, they can be stored in an airtight container at room temperature.


Yve Wills says
I made 9 of these delicious cakes. I cut them in half and put extra jam in the middle. My husband and I have eaten almost all of them in two days. I will be making them again soon. Thanks for the recipe.
Julianne says
I’m so glad you liked the recipe, Yve! It’s one of our favourites at home too. I like your idea of putting extra jam in the middle! I’m going to try that the next time I make them 🙂
Julianne